How to cutting the perfect dip tube length
Believe it or not, there’s a lot of discrepancy about dip tube lengths on pumps and sprayers in the packaging world. One company’s 2-inch dip tube is another’s 3-inch; and there really isn’t a universal consensus on the idea. While we can’t speak for others, we do want to be as clear as we can about how to measure a dip tube.
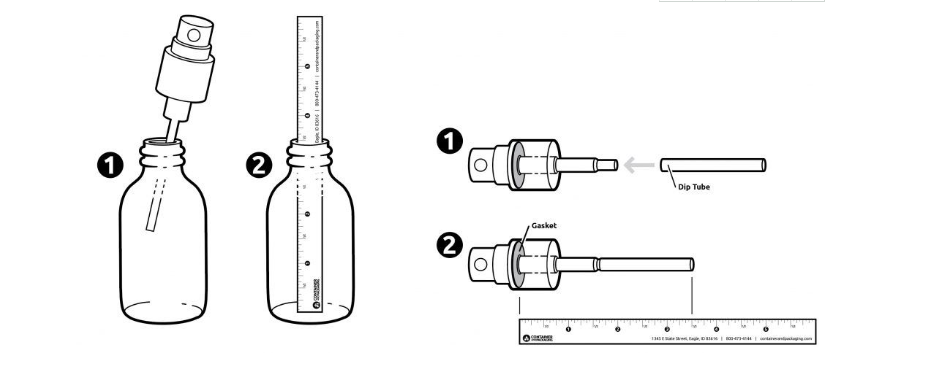
Step 1: Find the top of the gasket (or underside of the cap)
That’s it!
Step 2: Measure dip tube length
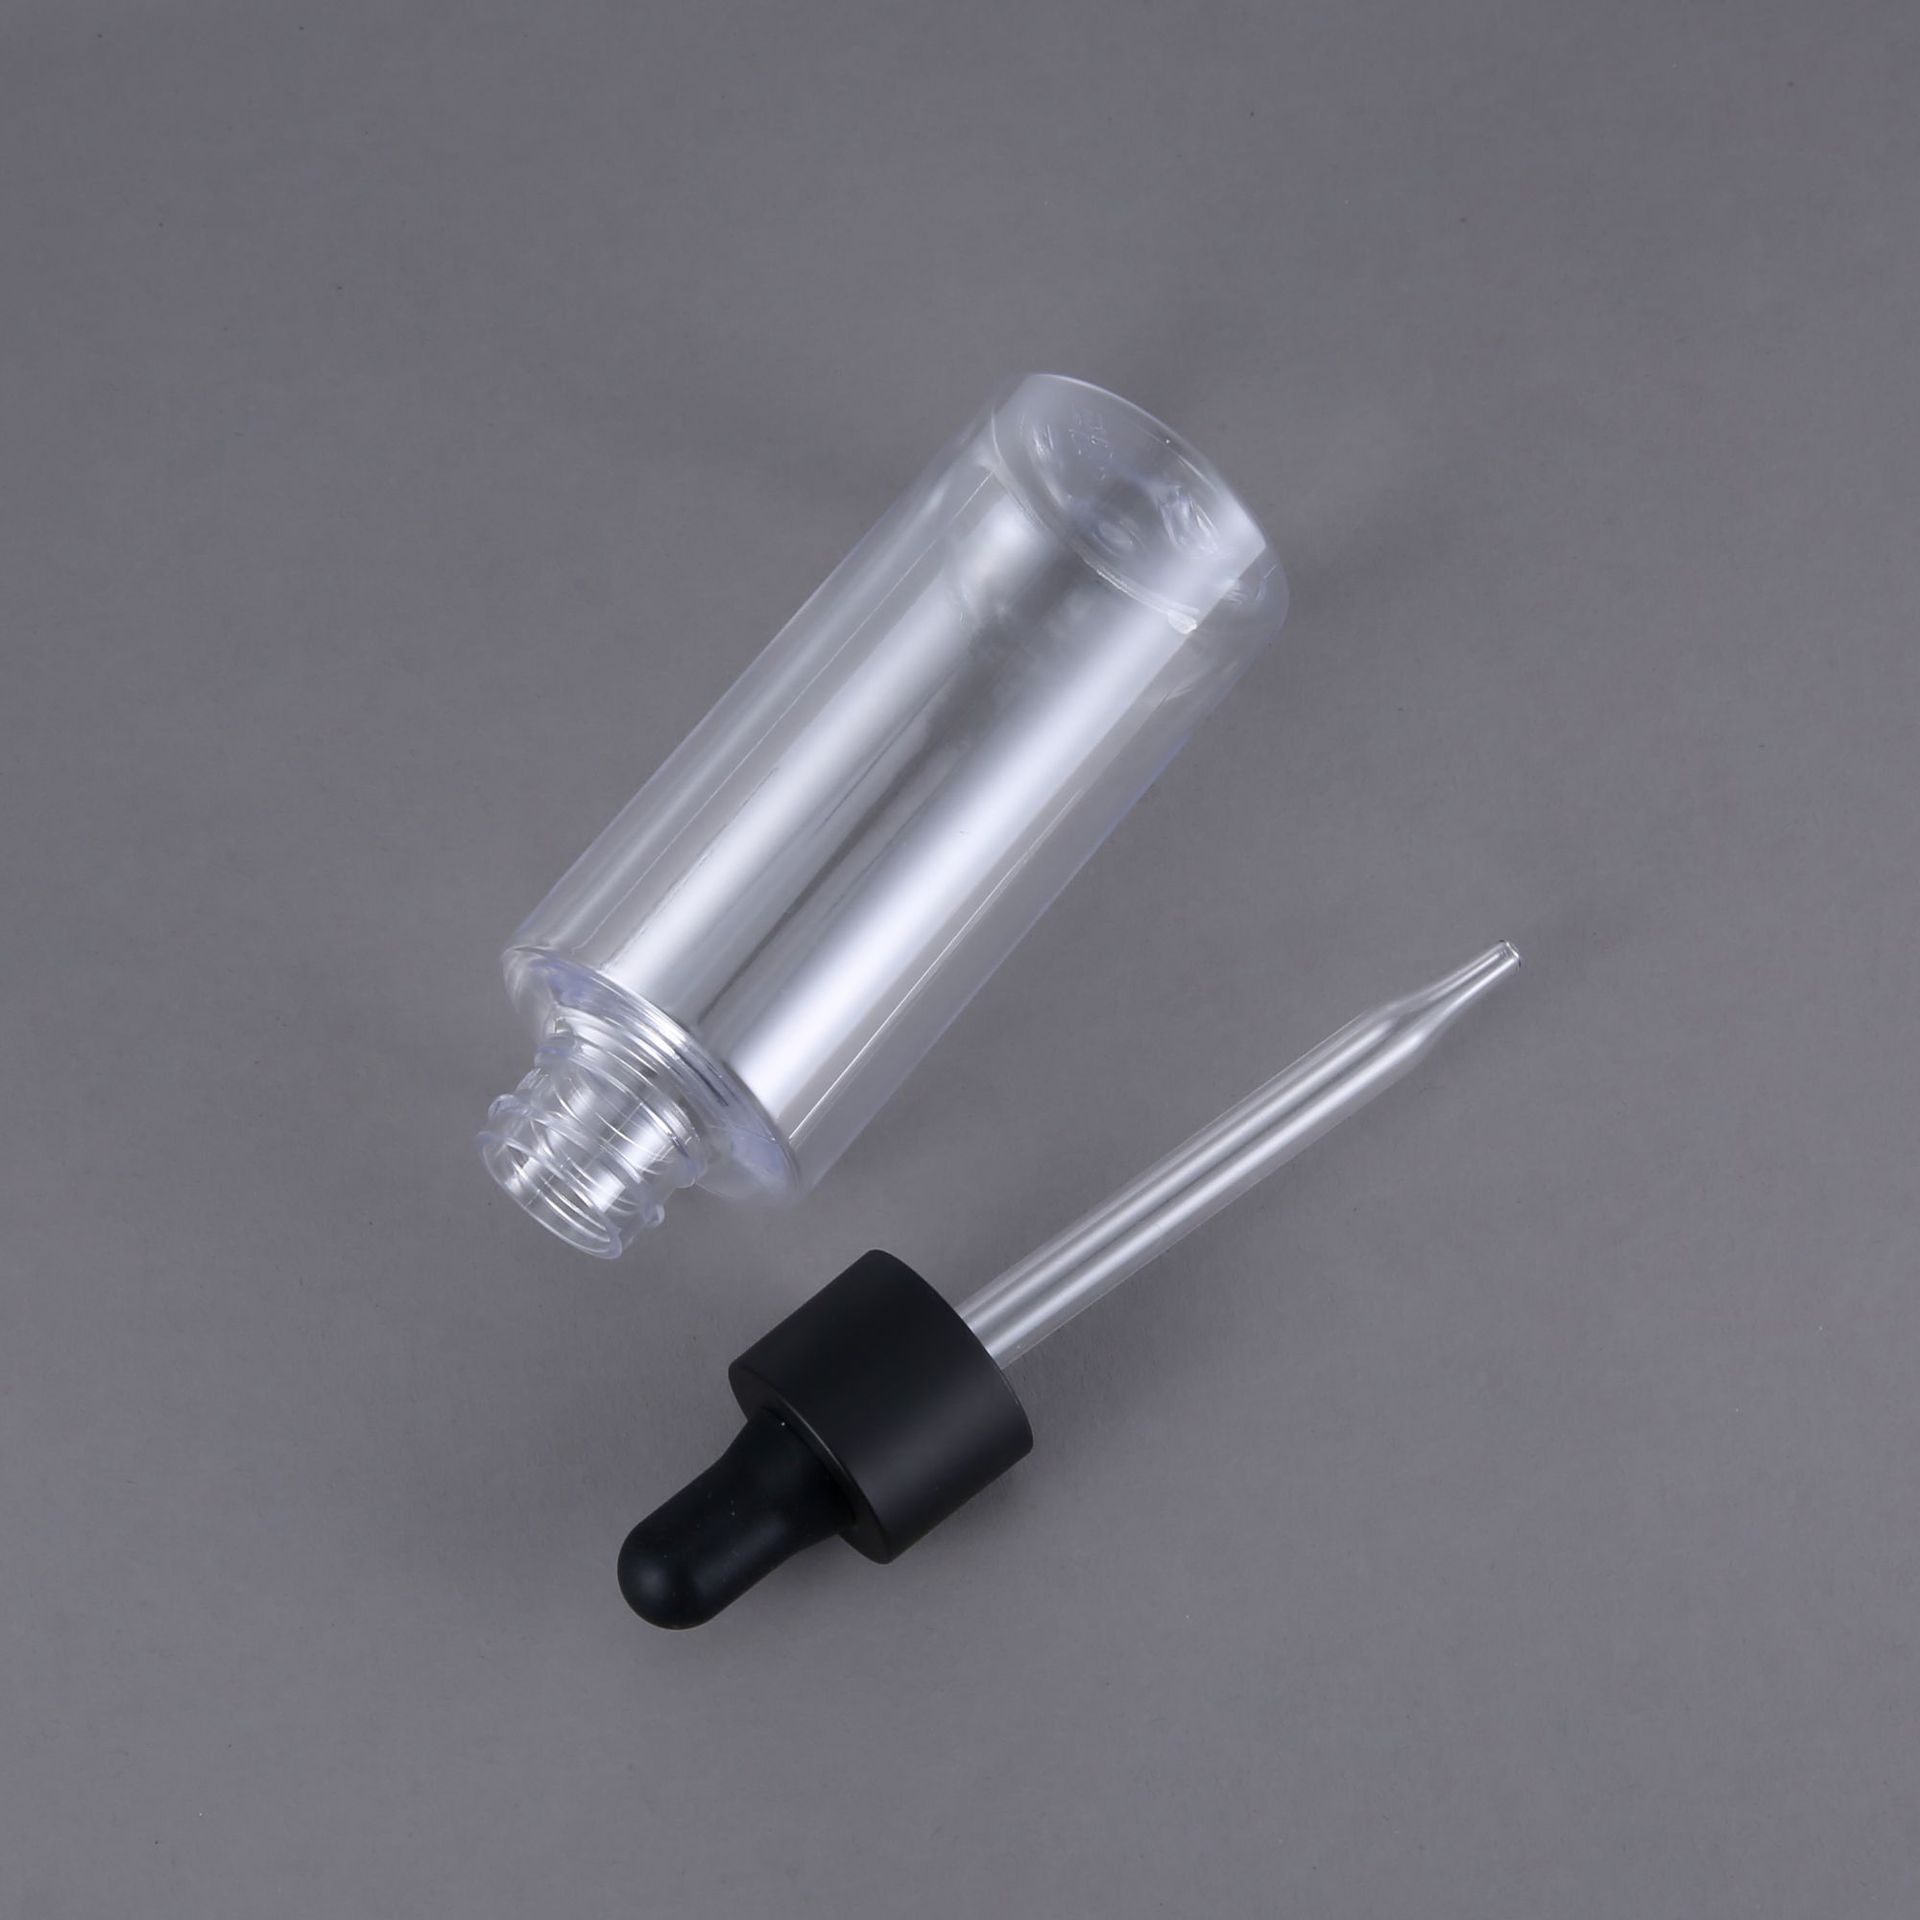
Starting at the top of the gasket, measure down to the bottom of the tube. This will give you an overall dip tube length. Please note that it isn’t just the length of the “straw” or “tube.” It’s the length from the top of the gasket to the very bottom of the tube. This is a CRITICAL distinction.
Step 3: Measure the container
Now we’ll need the container you’re using to determine how much of the tube to cut. To do this, we need the container height. Measure your container from the landing (rim, or very top of the bottle), to the bottom. Record that length.
To get this measurement, we recommend using a ruler on the inside of your container (see graphic below).
If the bottleneck is too small for a ruler, a straw or pencil can be used instead. To get the measurement this way, just insert the straw or pencil so that it touches the bottom of the container, then mark where it comes out of the bottle's top. Remove the straw or pencil and use your ruler to measure from the base to where you made your mark. This measurement is the inner height of your bottle.
Step 4: Decide how the tube should lay in the bottle
At Container, we love to present options! And you have a couple to choose from when it comes to trimming tubes for bottles.
Option 1: Bend the tube toward the container wall to maximize the dispensing of the product. Option 2: Cut the tube so there’s a slight gap between the dip tube and bottom of your container. This will still give the product room to be dispensed.
We do NOT recommend a flush cut for dip tubes because your own container could block the tube. This prevents your product from dispensing and nobody wants that!
Step 5: Test it
Most dip tubes require a test. But before your palms get sweaty, it’s not the 30 multiple choice questions and 500-word essay you’re thinking. We recommend physically trimming the dip tube and testing it on the bottle yourself (remember Container will send you free samples). Make sure you’re careful when trimming – it’s easier than you think to cut them too short for your tube to work properly.
Step 6: Is it working yet?
If it is, repeat step 1 and 2 to get the custom cut dip tube length. This is the number that is critically important for you to remember when you cut the dip tubes.


Contact Us